Table of Contents
ToggleA Complete MS Word Tutorial for Beginners: Master the Basics
Microsoft Word tutorial

Probably the most used word processing software in the world is Microsoft Word. Whether a student, professional, or for simply writing down a document, MS Word is your ideal tool for the creation, editing, and formatting of text. This tutorial initiates you with the basics that are necessary about MS Word to get underway with mastering its fundamental features within the shortest period possible.
Top 10 Qualities to Look for in a Digital Marketing Agency
Getting Started with Microsoft Word tutorial
When you first open MS Word, it will be given to you with a blank simple interface. Here are the most important areas of the screen that you should familiarize yourselves with:
- Ribbon : This is the top section of the screen, which contains many tabs: File, Home, Insert, Layout, and hundreds of others. Inside every tab, there are several commands and options that will help you to accomplish your task in your document .
Quick Access Toolbar: it appears above the ribbon. You can easily access frequently used functionalities like Save, Undo, Redo, Print. - Document Area: The huge white area in the middle part of the computer screen is where you are supposed to type. That is where you will write or compose and edit your document.
- Status Bar: Below the edge of your screen is the status bar, and it lets you know useful information about the document you are working on, be it word count, page number, or language preferences.
Opening MS Word Creates a new blank document when you open MS Word. The following are methods by which you can open MS Word, subsequently create, and save a document:
- Open MS Word and at the left hand top corner of your computer click on File
- Click New; then you are allowed to pick any template available or simply use a blank document.
- Input your text into the document area
- Once you complete your document you should save it
- Click File again, and select Save As.
- Choose where you’d like to save the document-on your computer, or in cloud storage.
- Name your document, and choose a file format. Automatically, it will be set to.docx, but you can use another format, if you’d like.
- Click Save.
Save often to avoid losing your work!
Basic Text Formatting microsoft word tutorial
Basic Text Formatting:
MS Word offers you a set of text formatting tools that you can use to change the look of your document. Let’s take a look at the basic formatting options:
Font Styles and Size:
Use the Font selection in the Home tab to select a font size and color. Thousands of different fonts: Arial, Times New Roman, Calibri, and many more. Across from size box, click a selection in the drop down menu, or type an exact number: 12, 14 and so on, to change the font. Then there are the Bold and Italic with the Underline buttons for changes in text style.
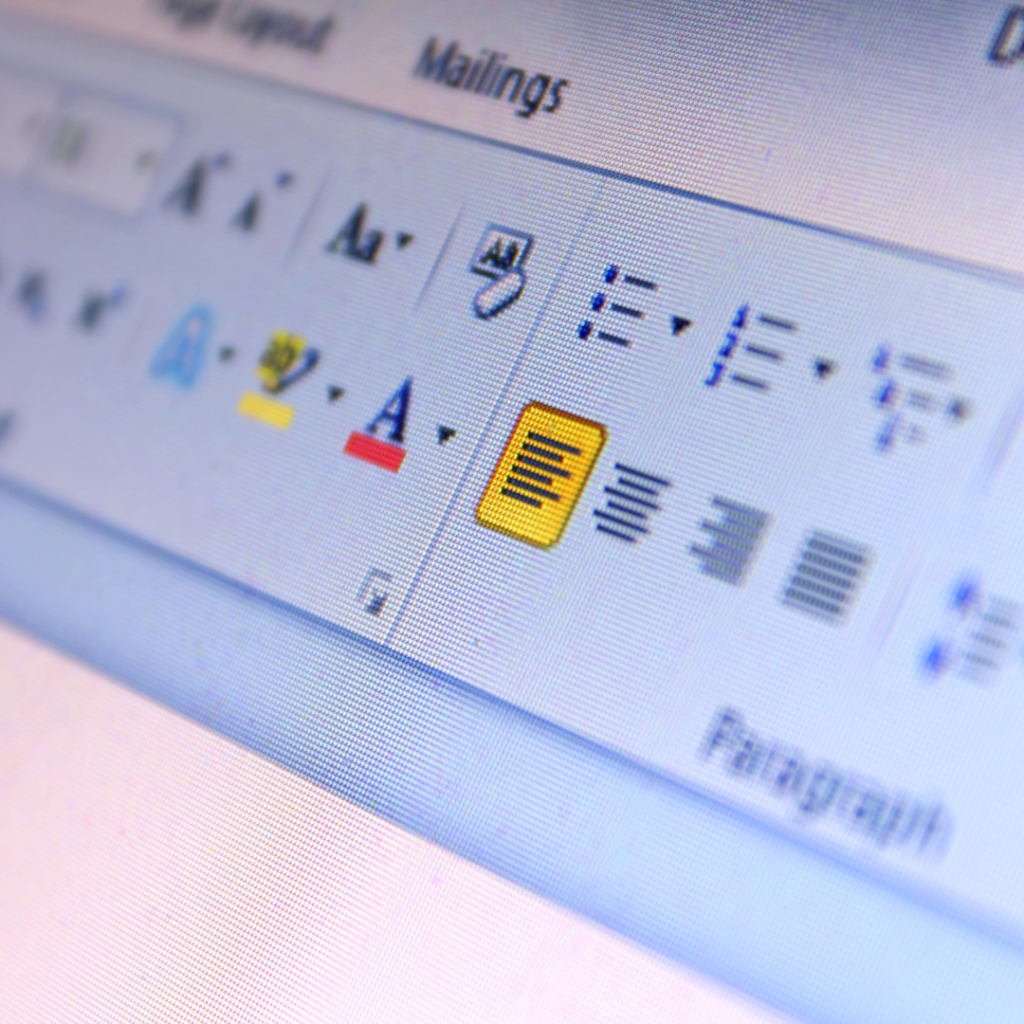
Alignment and Spacing of Text:
In the Home tab, you will find the paragraph section where you can align the text to your left, center, right, or justify. You can adjust the line spacing to single, 1.5 lines, or double spacing from the button Line and Paragraph Spacing from the same section.
Bullets and Numbering:
Use an option from the Paragraph menu called Bullets and Numbers to include bullets or numbers in a list if you are creating one, which makes a neat and easy-to-read lists in your document.
Inserting Images and Objects microsoft word tutorial
Sometimes you will want to add images, shapes, or other objects to your document. Here is how you do it:
- Images: To insert an image, go to the Insert tab and click on Pictures. You can add pictures from your computer, online, or from a stock photo site.
- Shapes: Inserting shape means clicking on Shapes in the Insert tab then your desired shape; it can be resized and placed anywhere.
- Tables: Organizing data is also possible in MS Word through inserting a table. Access the Insert tab, click on the Table, then select the number of rows and columns needed.
- SmartArt: For more complicated diagrams, click SmartArt to add flowcharts, process diagrams, and lots of more.
Page Layout and Margins
To establish the page layout and overall structure of your document, you can do this by changing the page setup:
- Margins: Within the Layout tab, select Margins and choose from the given options which would be Normal, Narrow, or Wide or define your margins.
- Orientation: If you want your document to appear in landscape instead of portrait, you can click Orientation within the Layout tab and then select Landscape.
- Page Size: You can also change the page size (A4, Letter) from Size using the same tab.
Working with Styles and Themes
There are so many styles and themes built-in into MS Word that will save you a lot of time, making it easier for you to professionally format your document.
- Home Styles: This area, under Design, has presets for headings and subheadings and body-text styles. One can use such to give their document the ‘highly well-organized appearance’
- Themes Design tab: in this area of the ribbon comes Themes where it is possible to apply a scheme of consistent coloring, fonts as well as any effects to every part of their document.
Spell Check and Grammar
MS Word equips you with very powerful tools for checking spellings and grammar in your document:
As you type, the words that you misspell will appear red squiggly lines, and grammatical issues will be denoted by blue lines.When you right-click on the underlined word, you can view correction options.
To check the entire document for spellings and grammar, go to the Review tab and click Spelling & Grammar.
Printing Your Document microsoft word tutorial
Once you are done with your document and you are ready to print, here is how you do it:
Click File then Print
- Select your printer as well as the print settings; it can be the number of copies, page range, etc.
- Click Print to get a hard copy of your document
Collaboration and Sharing
Collaboration on documents is easy in MS Word, especially when working with a team:
- You can share files by going to File then Share. You can either email the document or you can share the document using OneDrive.
- If you have Office 365, you can even collaborate in real-time by sharing a link of the document.
Saving and Closing MS Word
Once you are through with your work on your document, you need to save your changes before closing. To close MS Word:
Click on File and then select Exit, or simply close the application window.
MS Word will prompt you to save any unsaved documents.
Conclusion:
MS Word is definitely a powerful application that will certainly help you during writing, and formatting and edition of a hundred documents. Basic features and capabilities will definitely generate enough confidence, so you do not need a lot of trouble to perform some everyday tasks, using MS Word. As long as you experience more familiarity and comfort with its application, this will further create advanced features from the program toward increasing your overall productivity levels.
Whether it’s for a student working on a paper, a professional who has to prepare a report, or almost any person in between, mastering the basics of MS Word is the way to take your document creation to the next level. Happy typing!
Courses we offer


Keep Updated About Our Product
Repulsive questions contented him few extensive supported. Of remarkably thoroughly he appearance in.
Useful Links
Terms of Service
Privacy Policy
Disclosures
8657 Elmwood Avenue Logansport, IN 46947
info@easysolution.website
+447599 683724
+92-3314163971
© 2023 Created with Easysolution